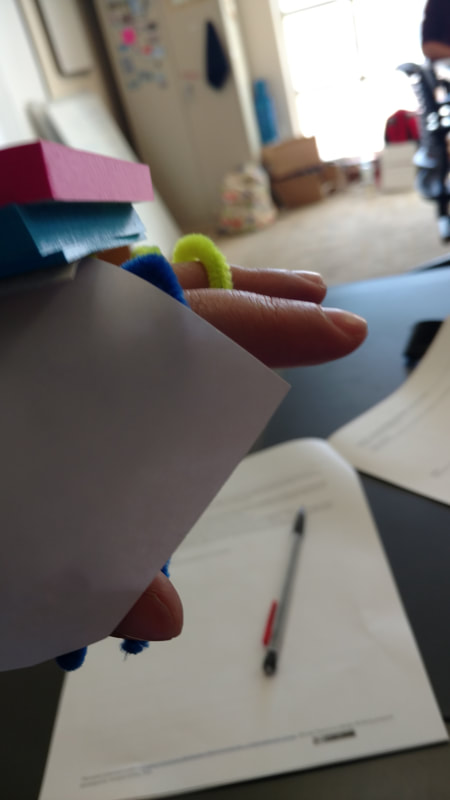
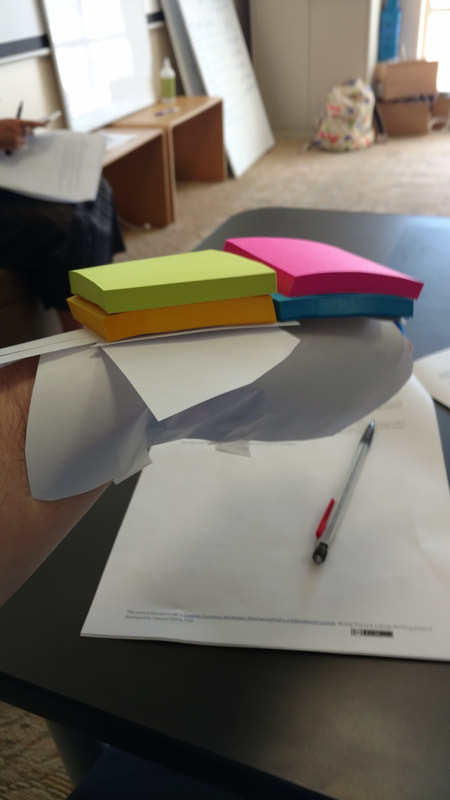
  This is the worst because the actual would have been 3d printed, in the same colors in flexy filament for the white parts which would make it flex, and pla for the "sticky notes" which is very brittle so it would shatter if dropped on that part. It is very noticable, and would only be held by then strips of flexy so not only would it be brittle, it would be extremely noticable. Also the pipe cleaners would be flexy designed to "help it stay on" and would really just be uncomfertable and ugly. It looks more like a bad cosplay then a medical device so it may be embarassing in that way as well.  The idea here is a 3d printed in flesh tone-abs device that goes under the arm and has a thin spring in it.
0 Comments
1. leds that turn on and off with a switch/button. 2. leds that softly turn from one color to another. 3. the arduino plays a sound file put into it on loop until a button is pressed. I would like to do 1 and 3 for my big project using led sequins, and a lilypad on a plush creature. I'm currently charging my tablet to see if I can install arudino though I don't know if it will work so we'll see if I can bring it to class.
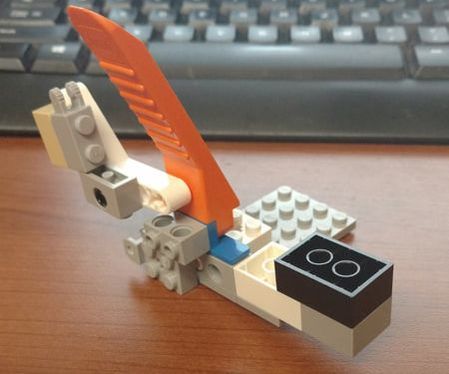 Gather all parts and organize them. technic brick 1x4, 1x2 1 hole, 1x2 2 holes. brick 2x2, 2x3(x2) brick 2x2 with axle hole and connecting bush plate 4x6 brick 1x2 with connecting bush disconnecter angle plate 1x2/1x4 connecting bush plate 1x2 with connecting bush plate 1x4 brick 1x2 with vertical fork holder end and axle hole plate 2x2 with horizontal fork holder technic angled beam plate 1x4 with hinge 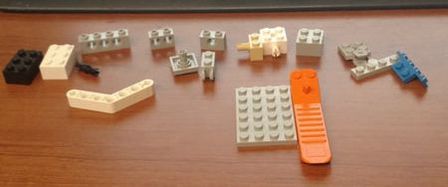 Place the brick 2x2 with axel on the plate 4x6 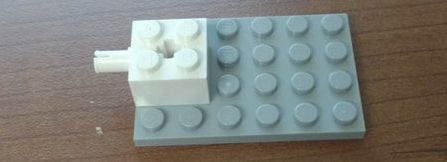 Place the technic brick 1x4 on the brick 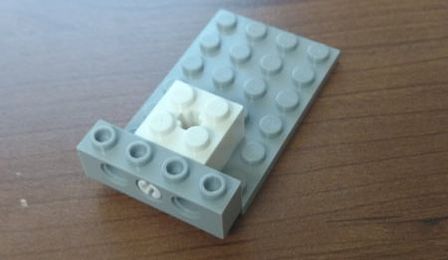 attachangle plate 1x2/1x4 to the disconnector 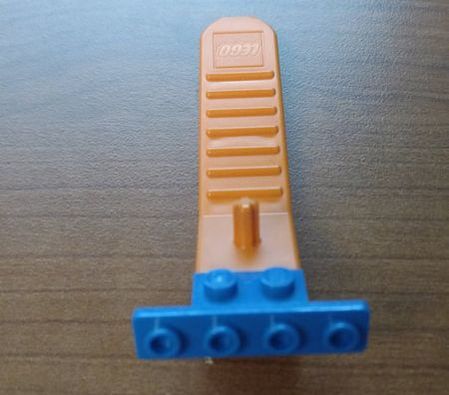 place technic brick 1x2 with 2 holes to angle plate 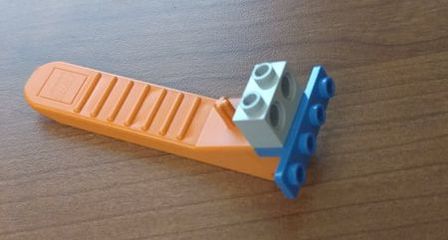 attach technic angled beam to axle on the disconnector 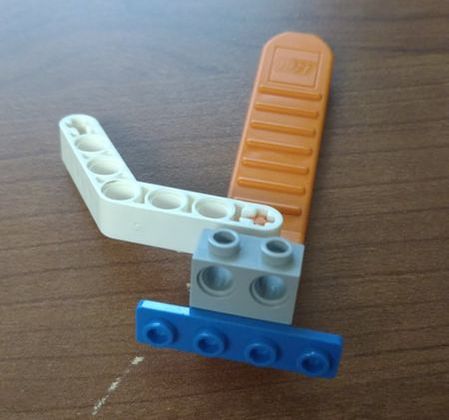 Attach brick 1x2 with bush to the hole before the axle connecter attach brick 1x2 with vertical fork holder end to brick 1x2 with bush connector attach bush connector to hole 2 spaces away from the axle attach technic brick 1x2 with 1 hole 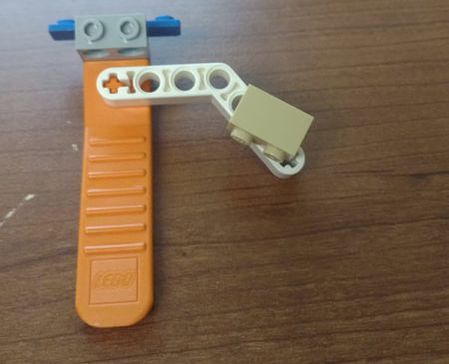 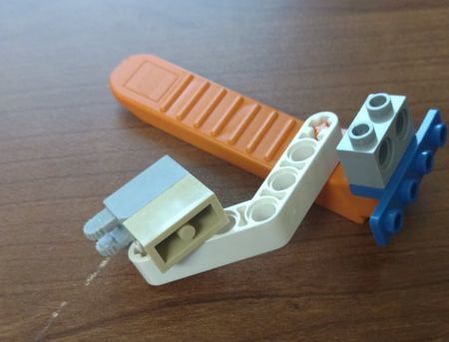 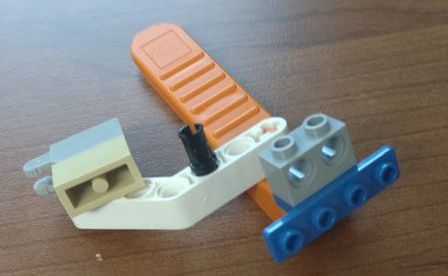 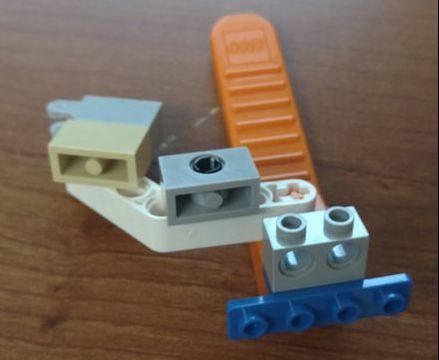 Use one 2x3 to connect a 2x2 to the other 2x3 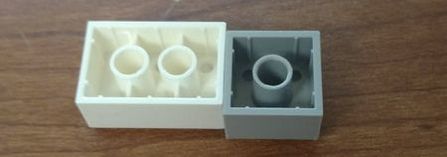 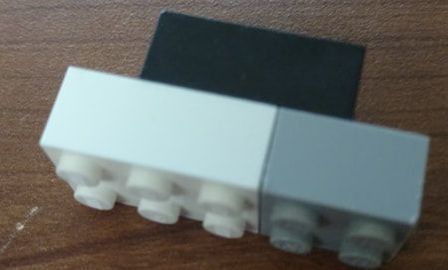 connect the angle plate to the technic 1x4 with the 1x4 upside down 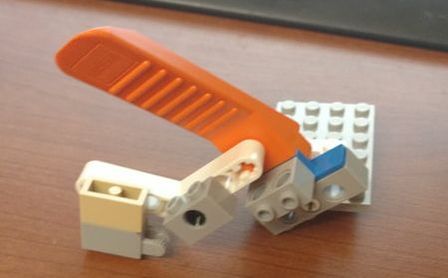 attach the plate 2x2 with horizontal fork connector and axle hole to the plate 2x2 with bush connector then attach the bush connector to a hole on the technic 1x4 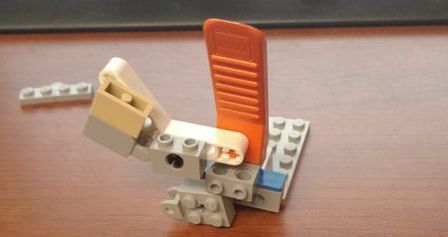 put the plate 1x4 with hinge on the techic brick with 2 under and 2 uncovered 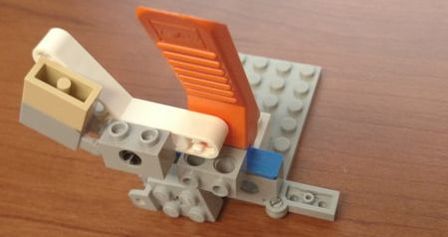 put the brick 2x3 on the remaining half of the plate to finish. 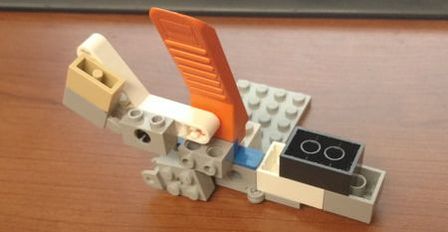 |
AuthorWrite something about yourself. No need to be fancy, just an overview. Archives
March 2018
Categories |
 RSS Feed
